
Why Cheap Paver Patios Fail in Orlando's Sandy Soil (And the 6 Steps That Prevent It)
The only thing worse than no pavers is poorly installed pavers. A patio that sinks, shifts, grows weeds through every joint, and pools water against the back of the house has not saved the homeowner anything. It has created a problem that costs more to fix than a correct installation would have cost to begin with. In Florida's sandy, water-mobile soil, every shortcut in the prep process shows up eventually, usually within the first rainy season. MV Lawn Services and Landscaping is family-owned and in-house, and the process below is how every hardscape job gets done. Call MV Lawn for a free design and quote or reach the team at (407) 556-5164.
Step one: address the irrigation before anything else
Homeowners in the Windermere area often discover mid-project that their irrigation system runs directly under the area being paved. The cheap approach is to cap the heads and walk away. The correct approach is to evaluate the system first: which heads need to be relocated rather than simply capped, and where does the rerouted line need to run so the surrounding lawn still gets coverage. Capping heads without rerouting leaves dead zones in the lawn that show up after the patio is finished, when the only fix requires pulling up the pavers to access the line. Irrigation installation work done before the patio goes down prevents that sequence entirely.
The Dr. Phillips area, where larger lots often have more extensive irrigation networks, makes this step especially relevant. A system that was installed to serve a full grass area will need meaningful adjustment when a paved section replaces part of that coverage. Getting this right at the start rather than discovering the problem after the concrete border is poured is the difference between a clean project and one that requires a follow-up excavation.
Steps two and three: proper base preparation
In Baldwin Park and throughout the Orlando area, the sandy soil that makes Florida yards drain quickly is also the reason paver bases fail without proper compaction. Step two is removing the existing sod cleanly and laying a weed barrier before any base material goes down. Sod left in place decomposes and creates soft spots. Weed barrier skipped means the joint sand becomes a growing medium for everything that wants to come up through it.
Step three is the one most budget crews skip entirely: bringing in crushed-concrete fines and compacting them hard. This material compacts to a dense, stable base that sand and standard soil do not achieve on their own. It adds roughly three inches of grade that has to be planned for before the project starts. A crew that does not account for the grade change will produce a patio surface that either sits too high relative to the surrounding lawn or requires the homeowner to step down awkwardly at every entry point. Planning for those three inches at the design stage is part of getting the finished height right.
Steps four and five: setting the pavers and managing water
With a compacted base in place, the pavers go down on a screeded sand setting bed that allows for minor adjustments in level. After the pavers are set, joint sand is swept into every seam. This is not decorative. The sand in the joints blocks weed germination and stabilizes the individual pavers so they cannot migrate laterally under foot traffic and load. Joints left empty or only partially filled are where the first weeds appear, and they are also where the first shifting begins as the pavers lose lateral support.
Slope is step five, and it is the step that determines whether the patio creates a drainage problem or solves one. Every paver surface needs to slope away from the house at a consistent grade. Water that does not have a clear path away from the structure pools at the edge of the patio or runs toward the foundation. Both outcomes cause damage over time. Establishing the correct slope during the screeding process is straightforward. Correcting it after the pavers are set requires pulling them up and starting the screeding process over.
Step six: lock it in with a concrete border and optional sealing
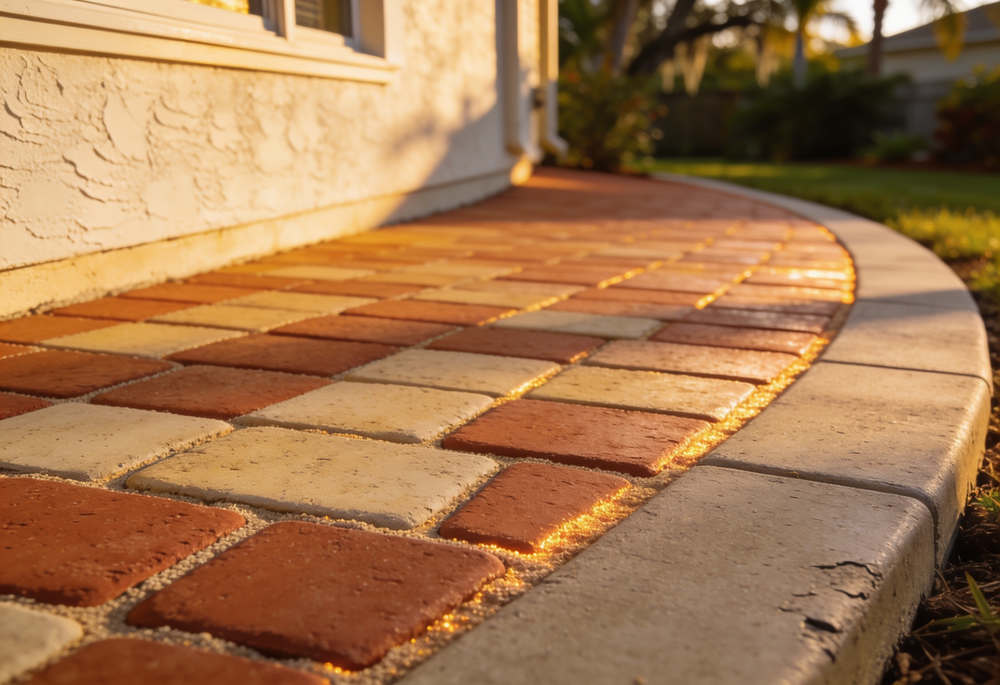
The final step is a concrete border around the perimeter of the installation. This is what prevents the outer pavers from drifting outward over time. Without a border, the edge pavers have no lateral restraint, and Florida's soil movement during wet and dry cycles gradually pushes them away from the center of the patio. A concrete border eliminates that movement entirely and gives the installation a clean, finished edge that holds its shape.
Sealing is optional but worth understanding. Pavers in Central Florida are exposed to UV radiation, rain, organic debris, and foot traffic year-round. Sealer penetrates the surface, enhances color depth, and significantly slows the fading that makes an unprotected paver installation look washed out within a few years. It also hardens the joint sand, making it more resistant to washout during heavy rain events. MV offers sealing as part of the hardscaping and paver installation project or as a standalone service for existing patios that were installed without it.
A paver patio done correctly is a long-term addition to the property. Done with skipped steps, it is a repair project on a short timeline. If you want to know what a proper installation looks like for your specific yard, call MV Lawn Services and Landscaping at (407) 556-5164 or request your free paver design and quote from MV Lawn before the project starts.